Building a WordPress Website: A Step-by-Step Guide without Domain and Hosting

Are you ready to take your online presence to the next level? Look no further! Whether you’re an aspiring entrepreneur, a passionate blogger, or simply someone who wants to showcase their creative work, building a WordPress website is the perfect solution. And guess what? You won’t even need to worry about purchasing a domain or hosting!
In this step-by-step guide, we’ll walk you through how to create a stunning and functional website on WordPress without breaking the bank. So let’s dive in and unlock the endless possibilities of the digital world together!
Table of Contents
What is WordPress?
WordPress is a free and open-source content management system (CMS) used to create websites. WordPress was created in 2003 by Matt Mullenweg, who later sold the company to Automattic in 2013. WordPress is available on many platforms, including Windows, Mac, GNU/Linux, iOS, and Android.
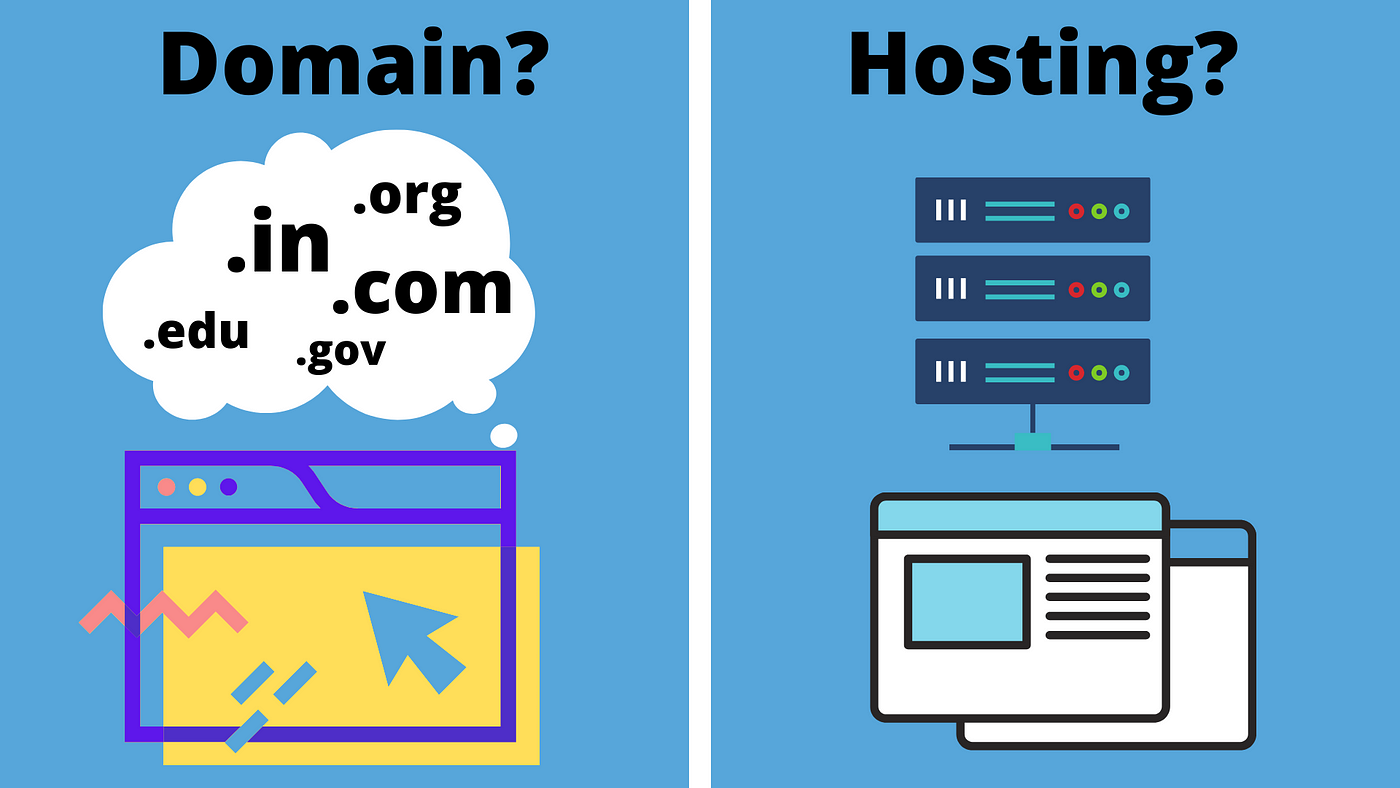
How to Choose a Domain and Hosting?
If you’re thinking about starting a WordPress website, your first step is to decide on a domain and hosting. Domain names are easy to get, but hosting can be more expensive. Here’s what you need to know about each:
Domain Names
To get a domain name, go to GoDaddy.com or NameCheap.com and enter the domain name of your choice into the search bar. You’ll probably see several options for purchase, including through an autorenewal service like WP Engine. Once you’ve chosen a domain, enter that information into your web browser’s address bar and hit Enter. You’re ready to start building your site!
Hosting vs. Domain Hosting
When it comes to hosting, there are two main types: domain hosting and hosting without a domain name (also known as “hosting without an address”). Domain hosting costs money each month but gives you access to a fixed number of domains (typically one) for your website. You’d use this type of hosting if you already have a dedicated server set up or if you plan on using another provider that offers this type of service like Automattic’s Pantheon suite (which includes PantheonWP).
Hosting without a domain name is cheaper than domain hosting but doesn’t give you any additional domains—you’ll need to purchase your domain if you want multiple websites on the same host. Both options come with restrictions, so be sure to read the fine print before making your decision.
WordPress Hosting Choices
If you’re not sure whether you need a domain or hosting, your best bet is to get a hosted WordPress site from one of the following providers:
WP Engine: This provides managed WordPress hosting with some add-ons like Advanced Custom Fields and Gravity Forms. It’s the most expensive option, but it also offers the widest range of features.
This provides managed WordPress hosting with some add-ons like Advanced Custom Fields and Gravity Forms. It’s the most expensive option, but it also offers the widest range of features. SiteGround: This provider offers starting at $3 per month for a single website and $10 per month for up to three websites. Sites run on SiteGround include WP Engine, Envato, and Jetpack.
This provider offers starting at $3 per month for a single website and $10 per month for up to three websites. Sites run on SiteGround include WP Engine, Envato, and Jetpack. Bluehost: This provider starts at $2.95 per month for one website with no discounts for adding more sites. Bluehost also doesn’t offer any extra features over competitors like WP Engine or SiteGround.
How to Install WordPress on Your Computer?
Assuming you have already activated your WordPress site, the next step is to download and install the WordPress software. There are several ways to do this:
- Online: click the “Download WordPress” button on wordpress.com and complete the registration form;
- On a computer connected to the internet: visit www.wordpress.org and click the “Download WordPress” link under the “Get Started” heading;
- On a computer connected to your network: open your browser and enter http://wordpress.org/ in the address bar (this will take you to wp-content/plugins);
- On an iPhone or iPad: open the App Store and search for “WordPress”; select “WordPress for iPhone” or “WordPress for iPad”.
- Once you’ve downloaded and installed WordPress, log in using your username (e-mail address if you registered on wordpress.com) and password. If you registered on wordpress.com, you’re already logged in!
- Click on “Appearance,” then “Themes” in the admin menu to load up your theme selection screen. Select a template from among those provided by WordPress: all of them are relatively easy to use or you can create your own using the provided “WordPress tutorial” as a starting point.
- Click on the “Install” button to install WordPress onto your computer.
- If you’re upgrading from an older version of WordPress, first make sure to deactivate the old version: in the admin menu, click on “Templates,” then “Themes” and select the theme you want to upgrade to.
- Click on “Updates” and disable the old, incompatible version of WordPress by checking the box next to it. If you don’t disable the old version, it will be updated during the upgrade process, potentially damaging your site!
- Now click on “Install” to install the new template and upgrade your site.
How to Create a WordPress Website?
Beginning with a blank WordPress website is easy. In this guide, we will show you how to create your first blog using a free domain and hosting from WP Engine. Once you have set up WordPress, you can add any content you like and customize the look and feel of your site using the WordPress customizer. This guide applies to both newbies and veterans of WordPress. Let’s get started!
- First, sign up for a free domain name and host from WP Engine.WP Engine offers a wide range of domains (including email addresses) and hosting plans that start at $6/month. If you don’t already have an account, create one now.
- Once you have your domain and hosting set up, you are ready to begin setting up your WordPress site. Log into WP Engine and click on the “Create A New Site” button in the left-hand navigation menu.
- On the next page, enter your domain name as the domain name in the “ Domain Name ” box (ex: mywebsite.com ), and click on the “Create” button.
- Next, verify that everything is working by visiting your domain name in a web browser (ex: http://mywebsite.com ). You should see the default WordPress login screen asking for your email address and password. If everything looks good so far, scroll down to step 5!
- For security reasons, WP Engine recommends that you create a new password for your WordPress site. Click on the “Create A New Password” button next to the “Password” field and enter a strong password in the “New Password” text box.
- Finally, click on the “Create Site” button to finish setting up your WordPress site. You now have a live website!
How to Update and Configure Your WordPress Website?
WordPress is a popular open-source content management system (CMS) that is used by millions of websites worldwide. When you create a new WordPress website, you will need to choose a domain name and host your site on a web server. You can then install and configure WordPress on your website. In this guide, we’ll show you how to update and configure your WordPress website without a domain or hosting.
First, you’ll need to purchase a domain name. We recommend using NameCheap because they offer great prices and reliable service. Next, you will need to create an account with your domain provider. Once you have an account, add your desired domain name to your account.
Next, head over to the WP Official Codex page for the Yoast SEO plugin and download the plugin onto your computer. Once the plugin has been downloaded, activate it by entering the following into the administrator panel of your WordPress site: wp_activate().
Then navigate to Settings > Yoast SEO and click on the “On Demand Installers” tab: Here you will find all of the Yoast SEO plugins that have been automatically downloaded onto your computer but have not yet been activated. Simply click on the plugin that you wish to activate (in this case, Yoast SEO) and click on the “Activate” button: Visit Settings > General in WordPress and enter your newly created WordPress admin username and password into the appropriate fields: Now that yoast SEO has been activated, go to Posts > Add New and click on the “WordPress” tab:
Here you will find several different settings that you can configure for your WordPress website. The most important setting that you need to set is the “General” tab, which contains your website’s title and description. You can also change the homepage URL by clicking on the “Homepage” tab and entering the desired URL into the “URL” field.
Finally, you will need to click on the “Settings” button to enter your site’s security settings. Here you will need to provide your site’s name (this will be used as the default admin username), choose a secure password, and select whether or not you want email notifications sent when changes are made to your website.
Once you have finished configuring Yoast SEO, click on the “Save Changes” button at the bottom of the post editor screen: WordPress will now create a new draft of your blog post in the posts section of your WordPress website. To start publishing your new blog posts, simply navigate to Posts > Publish: WordPress will now prompt you to enter a title for your blog post, as well as a brief description of why you are posting the blog post.
After you have finished preparing your blog post, click on the “Publish” button: WordPress will now publish your blog post to your website and you will be able to access the newly published blog post by navigating to Posts > All Posts: Congratulations! You have now successfully updated and configured your WordPress website.
Conclusion
WordPress is one of the most popular content management systems (CMS) in the world, and for good reason. Not only is it easy to use, but it also has a huge library of plugins that allow you to customize your website to your exact needs. This guide will walk you through building a WordPress website from start to finish without having to pony up for a domain or hosting plan. So if you want to create a blog or an eCommerce store, this guide is for you!