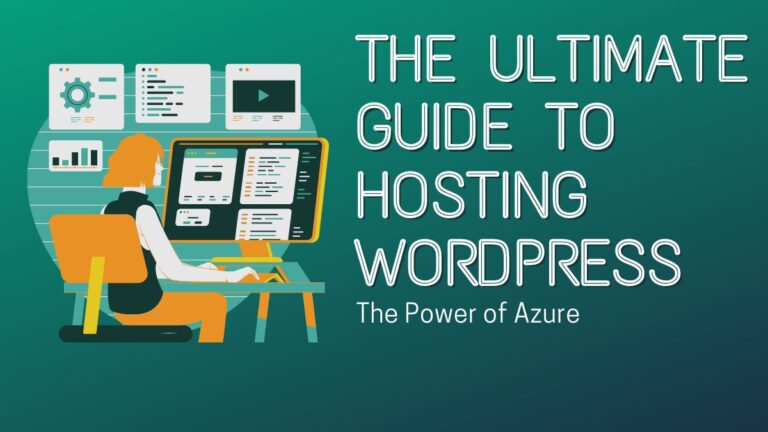
Can I Host My Own WordPress Site? A Comprehensive Guide for Beginners

Are you ready to embark on a thrilling WordPress journey, but feeling overwhelmed by the notion of hosting your site? Fear not! In this comprehensive guide crafted specifically for beginners like yourself, we will explore the intriguing world of self-hosted WordPress sites. Join us as we unveil the secrets behind harnessing complete control over your website’s destiny and unleashing its true potential.
Whether you’re an aspiring blogger or a small business owner looking to make a splash online, get ready to dive headfirst into creating your very own digital masterpiece. By the end of this blog post, hosting your WordPress site will no longer be an enigma—it’ll be your newfound superpower!
Table of Contents
What is WordPress?
WordPress is a content management system (CMS) that enables you to create a website or blog from scratch or to improve an existing website. It’s free and easy to use, and it has tons of features.
WordPress was created in 2002 by Matt Mullenweg and Mike Little. Today, it’s one of the most popular CMSs on the internet, used by millions of people around the world.
If you’re thinking about creating a website or blog, WordPress is worth considering. In this guide, we’ll outline everything you need to know about WordPress before you get started.
Why Use WordPress?
WordPress is a user-friendly, customizable content management system (CMS) that enables you to create a website from scratch, or easily modify an existing website. WordPress is free and open-source software released under the GPLv2 license.
Because it’s free and open-source software, you can use it to create any website type – including a business or personal blog, e-commerce site, or publishing platform. Plus, because WordPress is available on almost every major web hosting company and app store, there’s no reason not to choose it as your content management system (CMS).
Once you have installed and configured WordPress, you are ready to start creating your website. To get started, visit wp-config.php on your server and enter the information required for your website domain name (e.g., mysite.com). Next, log in to your WordPress admin area and begin setting up your site by installing the necessary plugins and activating them:
Plugin Name Description WP Smush Smush compression of images into smaller files for faster loading times WP Jetpack Collection of essential plugins for improved blog functionality WP Gravity Forms Templates for collecting data from users through forms WordPress Akismet Anti-spam plugin
Once all of the necessary plugins have been installed and activated, you are ready to start designating pages and posts for your new website.
To create a new page or post in WordPress:
- Click on the Pages toolbar button located at the top of the WordPress admin area.
- Click on the Add New Page button.
- Type in a name for your new page or post, and optionally select a theme from the drop-down menus to the right of the Name field.
- Select a category for your new page or post, and optionally select a tag from the drop-down menus to the right of the Category field.
- Enter a description of your new page or post, and click on the Publish button to save it.
- To create a new post in WordPress, first, click on the Posts toolbar button located at the top of the WordPress admin area.
- Click on the Add New Post button.
- Type in a title for your new post, and optionally select a tag from the drop-down menus to the right of the Title field.
- Select a category for your new post, and optionally select a topic from the drop-down menus to the right of the Category field.
- Enter a brief description of your new post, and click on the Publish button to save it.
Setting up Your Site on WordPress
If you’re looking to set up your WordPress site, there are a few things you need to do first. First, choose a hosting plan that meets your needs. Then, create a new WordPress site using the WordPress creator: Visit the WordPress website and click on the “Create A Site” button in the top left corner.
In the “Site Title” field, enter a catchy name for your site. In the “Description” field, provide an overview of what your site will contain. Next, in the “Website Address” field, type in your domain name (ex: mysite.com). In the “Default Language” field, select your desired language.
The next step is to set up your account with WordPress. To do this, visit https://wp-login.wordpress.com/. You will need to enter your site domain name and user ID (which you created when creating your site). After you log in to your account, click on the Settings tab in the header and then on Backup & Restore. In this tab, you will find instructions for setting up automatic backups of your site content.
Now that you have set up your site basics, it is time to start adding content! To add new posts or pages to your WordPress site, click on Posts in the left sidebar and then on Add New Post/Page. On this page, you will be prompted to fill out pertinent information about your post, such as its title, content, and publish date. After you have finished filling out this information, click on the Publish button and your post will be published to your site.
To manage your WordPress site posts, Pages, and blog comments, visit the WordPress Administrator: Click on Posts in the left sidebar and then on Manage Post. On this page, you will find information about each of your posts and pages, such as their titles, categories, tags, and comments.
You can also add new posts or pages by clicking on the Add New Post/Page link located beneath each post or page. Finally, you can archive posts or delete entire posts or pages by clicking on the Archive (or Trash) button found at the bottom of each post or page.

Hosting Your Site with a Provider
WordPress is a popular content management system (CMS) used to create websites. Many people choose to host their WordPress sites. There are several options for hosting your WordPress site, including using a hosting provider, using a self-hosted solution, or using a panel service.
The most popular hosting providers for WordPress sites are Amazon Web Services (AWS), Google Cloud Platform (GCP), and Rackspace Cloud. These providers offer a variety of plans and features that can be useful for hosting your WordPress site.
To get started hosting your WordPress site, you’ll need to decide what type of server you want to use. You can use a custom build or deploy an existing open-source platform such as Apache or nginx on AWS, GCP, or Rackspace Cloud. Alternatively, you can use the hosted solutions provided by these providers.
Once you’ve chosen the type of server and decided on the plan, you’ll need to choose a provider and set up your account. All three providers offer instructions on setting up a WordPress site on their respective platforms: AWS provides instructions for installing WordPress on an IAM role in the Amazon EC2 cloud; GCP provides instructions for Installing WordPress on G Suite accounts; and Rackspace Cloud offers step-by-step instructions for setting up a new WordPress site with its Blueprints Manager panel service.
Once the site is set up, you’ll need to configure it to work with your domain name and hosting provider. Each provider has its requirements for setting up your site.
Hosting your WordPress site is an important part of ensuring that your website stays up and running. Don’t forget to choose a provider that offers the features and resources that you need to manage your site effectively.
Conclusion
Hosting your own WordPress site is a great way to showcase your creativity and portfolio to the world. In this comprehensive guide, we’ll walk you through the entire process from start to finish, providing tips along the way so that you can successfully create and manage your very own WordPress site. Whether you’re a beginner or an experienced webmaster, this guide has everything you need to get started. If you’re ready to take your website seriously, read on!