Hosting Your Website on GitHub with a Custom Domain: Step-by-Step Guide
Welcome to the ultimate step-by-step guide that will make hosting your website on GitHub with a custom domain an absolute breeze! Are you tired of juggling between different platforms or struggling with complex technicalities? Look no further, as we have got you covered. In this blog post, we will unravel the secrets behind seamlessly combining the power and simplicity of GitHub hosting with your personalized domain name.
So whether you’re an aspiring blogger, a budding entrepreneur, or simply someone wanting their web presence, get ready to embark on an exciting journey towards creating a remarkable online identity. Let’s dive in and discover how easy it is to turn your dream website into reality using GitHub and a shiny new custom domain!
Table of Contents
What is GitHub?

GitHub is a hosting platform for software projects. It allows developers to store their code, issue and pull requests, and documentation in an online repository. GitHub also provides hosting for websites and other applications. When you create a repository on GitHub, you assign a custom domain name to it. You can then direct people to your website on GitHub using the domain name.
Getting Started with GitHub
If you want to host your website on GitHub with a custom domain, it’s easy to do. GitHub provides an interface for creating a new webhook and setting up HTTPS. Once your domain is set up, you can point GitHub at it and start building!
To get started, you’ll need to create a new webhook on GitHub. To do this, go to Settings > Webhooks and click create new webhook. Give your webhook a name (like my website), choose your repo as the target, and enter the URL of your repository as theGhHubUrl field.
You’ll also need to set up HTTPS for your site. To do this, open Settings > Security and toggle SSL off on the website webhook.

Hosting a Website on GitHub
Starting with GitHub, you can easily set up your website hosted on the platform. First, create an account on GitHub and select a repository to work with. You will need to either create a new repository or fork an existing one.
The next step is to create a new project in your chosen repository by going to https://github.com/new-repository/my-project and clicking the “Create Project” button. Once created, you will be redirected to your newly created project’s home page in GitHub: http://@github.com/.
Now that you have your project set up, the next step is to choose a hosting provider. There are many options available, but I recommend using GitLab for small businesses and startups because of its user-friendly interface and free tier option. To get started, sign up for a free trial at https://gitlab.com/. After signing up, go to your newly created project’s home page in GitLab and click the “Hosting” tab:
Next, choose “GitLab Pages” from the “Web Hosting Providers” dropdown menu and enter your desired domain name into the “Domain” field:
Now that we have configured our web hosting provider and selected our domain, we are ready to set up our website on GitHub! To do so, first, log in to GitHub and go to your project’s settings page (see below):
On this page, you will need to choose a website template and fill in some basic information about your project. Next, click the “Configure Website” button and follow the prompts to set up your website on GitHub:
Once configured, your website will be live on the web! If you have any questions or problems setting up your website, don’t hesitate to email us at help@codetalks.com. Happy coding!

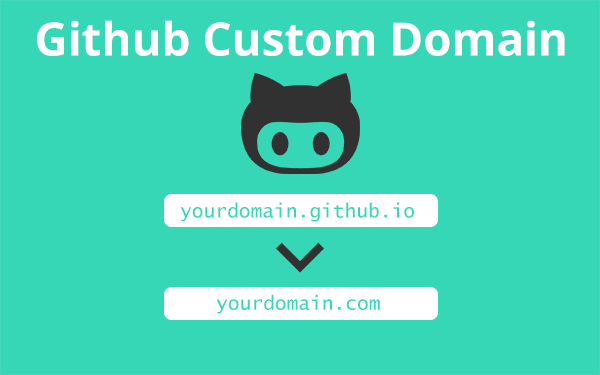
Setting up a Custom Domain for Your Website
If you want to set up a custom domain for your website, GitHub is a great option. You can use any name you want and register it with GitHub. Once you have registered your domain, you can point your web server to the domain and hosting website.
To get started, first, register a new domain with NameCheap.com or wherever you purchase domains. Once you have registered the domain, go to GitHub and sign in. In the top right corner of the main page, click on Settings and then Domains. In the settings window that opens, click on Add Domain. Enter the domain name that you registered with NameCheap.com or another provider into the Domain name field and click on Go.
Next, add a new repository to your account by clicking on the repository icon in the top left corner of the main page and hitting open repositories. In the search bar at the top of the screen, type Custom domains and hit enter.
If there are any repositories matching that search term, hit select all and hit Ok (or hit Add if there is not a matching repository). In this example, we will be using a repo called my-domain-name. Hit fork(), add yourself as owner (), select Custom domains from branches, hit Add Repo, and keep public visibility until activation. Click on Go again to return to your original repository listing layout.
Now that we have our new repo checked off of our list, fire up the Git clone and go to our newly created repo. If you are working with a team, clone the repo and distribute access to each teammate. If you are working on this project in private, just clone the repo and enjoy!
If you have not used Git before, now would be a great time to check out their quickstart guide. After you have started using Git, be sure to read their branching guide to learn more about how Git is organized and how to use it for versioning your code.
Once you have cloned your repo and logged in, you can start setting up your website. First, create a new directory called HTML at the root of your project. In this directory, create a file called index.html.
Next, create a file called server.js and paste the following code into it: var express = require(‘express’); var router = express.Router(); //Set up the route for our website router.get(‘/’, function (req, res) { res.send(‘Hello World!’); }); // Start the Express server var app = express(); app.configure(express.static(__dirname + ‘/public’)); app.use(router); // Use the Express server to serve our website app.listen(3000, function () { console.log(‘App is running at http://localhost:3000’); });
In this file, we are creating a simple Express server that will serve our index.html file. We are also setting up a routes section in which we define a route for our home page (/). When the user visits our home page, our home page will be served, and the Hello World! the message will be printed to the console.
To run your server, you can use the following command:
node server.js: If everything goes according to plan, you should now be able to visit your custom domain in your web browser and see your Hello World! message!
Conclusion
In this article, we will show you how to set up your website on GitHub and host it using a custom domain. By following these easy steps, you’ll be able to create a website that’s just perfect for your business or project. We recommend using GitLab as your development environment, but any platform that supports HTML and CSS should work just fine. Once you’ve completed the setup process, you’ll have everything you need to get started hosting your website on GitHub!