A Beginner’s Guide: How to Buy a Domain and Host It Yourself?
Congratulations on buying your very own domain! Whether you are starting a personal blog, launching an online store, or showcasing your portfolio, you have taken the first step towards making your web presence a reality. Now comes the exciting part – hosting your website and sharing it with the world. But where do you start?
Don’t worry, this beginner’s guide is here to help you navigate through the maze of web hosting options and empower you with everything you need to know about getting your website up and running smoothly. So grab a cup of coffee, sit back, and let us guide you on this exhilarating journey of how to host your website after buying a domain. You’re just one click away from having your virtual home sweet home!
Table of Contents
What is Website Hosting?
When you are ready to create your website, the first step is to purchase a domain name. Once you have your domain name, you need to find a web hosting company that will provide space on their servers for your new website.
There are several web hosting companies available, and each has its advantages and disadvantages. Some web hosting companies offer free domain registration and hosting services, while others charge an additional fee for these services. It is important to research the different options available before making a decision about which web hosting company to use.
Why Buy a Domain and Host It Yourself?
Some people decide to buy a domain and host a website themselves. There are many benefits to hosting your website: you can control the content, you can make changes as you wish, and there’s no need to worry about cyber security. However, there are also some challenges: setting up a website takes time and effort, and hosting can be expensive.
If you’re comfortable with computer programming or web design, you can set up your website without hiring a third party. Websites can be hosted on a variety of platforms, including computers, servers, and cloud services. You’ll need access to a domain name (a unique string of letters that represents your site), hosting space (where the website files will be stored), and an internet connection.
There are many free options for domain name registration and hosting, but paid plans may offer more features such as support for email marketing and dynamic content management systems (CMSs). It’s important to consider what features you need and want before selecting a plan; some sites don’t require any additional software oramps; others may require more advanced features such as SSL encryption or CDN delivery.
Before starting the process of setting up your website, estimate how much time it will take to complete (including research time)based on your skill level and how much information you already have.

The Two Main Types of Web Hosting: Shared and Owned
There are two main types of web hosting: shared and owned. Shared web hosting is when you rent space on a server from a provider like HostGator or BlueHost, who will give you access to that server and assign it a specific IP address. This type of hosting is great for small businesses or personal sites that don’t need their dedicated server, but it can be expensive – monthly fees can range from $8 to $25 per month.
Owned web hosting is when you buy a dedicated server from a provider like Amazon, DigitalOcean, or Azure. This type of hosting offers more control over your website’s settings and features, but it can also be more expensive than shared hosting. You’ll need to factor in the cost of the server itself (which can run anywhere from $50 to $500 per month), as well as an additional fee for domain registration and maintenance.
How to Find a Good Domain and Host It Yourself?
If you are in the market to purchase a domain name for your new website, there are a few things to keep in mind.
The first is that not all domains are created equal; some are more popular than others and may be more difficult to sell or get hosting for. The second is that buying and registering a domain name is only one step in setting up your website; you also need to find a good host and choose a web server that will meet your needs. Here we’ll walk you through the process of finding both domain names and hosts so that you can start building your website today!
To begin with, consider the type of website you want to create. Are you planning on creating an online store? A blog? An e-commerce site? Once you have decided what kind of site you are looking to build, look into the available domain names.
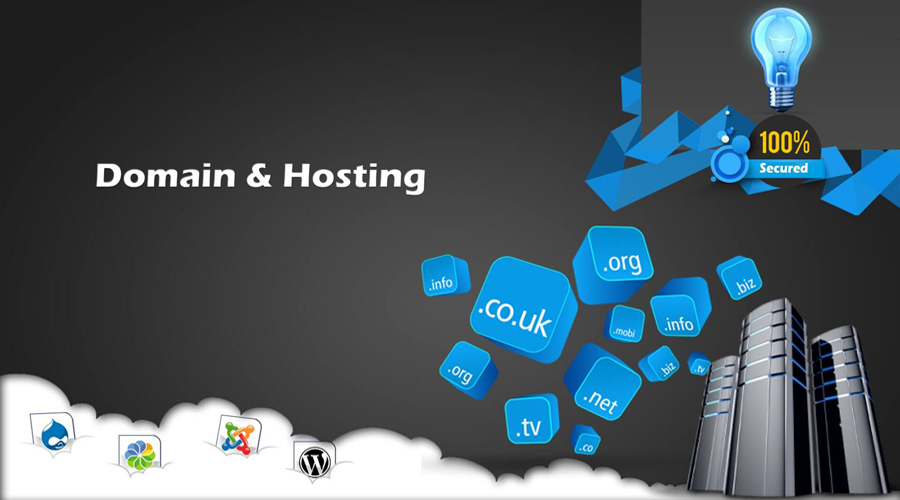
Domain names come in all different shapes and sizes, but the most popular ones include .com, .net, .org, and .info. While some domains may be easier to sell or [+ find hosting for] than others, make sure to select something relevant to your target audience before spending any money on it!
Once you have selected a domain name (or multiple domains), it’s time to research different hosting options. There are many different hosting providers out there [+ each with its advantages and disadvantages], so it can be a tricky decision which one to choose.

Here are a few things to consider when choosing a hosting provider:
- Is their host account offer unlimited storage space? This is important for sites with large files, like e-commerce stores.
- Do they charge monthly fees? Hosting providers that charge monthly fees may have more flexible pricing options for domain name registration/upgrades, but they also tend to be more expensive.
- Do they offer custom designs and features? Some hosting providers may offer additional features (like unlimited bandwidth) as part of their premium plans, which can be helpful when building a website.
- How fast is their network? While not all websites need blazing-fast speeds, some businesses will feel frustrated if their website isn’t loading quickly.
Once you have narrowed down your options, it’s time to sign up for a hosting account and get started building your website!
The Easiest Way to Buy a Domain and Host It Yourself
If you’re thinking about buying a domain name and hosting your website yourself, here’s the easiest way to do it.
To start, visit Namecheap.com and choose a domain that’s both catchy and relevant to your business. Once you have your domain, launch an account on Siteground, which is a reputable hosting company. You’ll need to create a custom hosting plan and provide Siteground with your domain credentials. After that, you’re ready to go!
Simply upload your website files (CSS, images, etc.), set up a DNS record for your site, and you’re ready to go live! If you encounter any issues during the process, be sure to reach out to Siteground support for help.
Tips for Preparing Your Website
- Before you can start hosting your website, you need to purchase a domain name and host from an online provider.
- First, research which domain provider offers the best prices, features, and support for your needs.
- Once you’ve selected a provider, create an account and enter the details of your domain name and hosting plan into the provided forms.
- Verify that all of the information is correct before proceeding to pay for your hosting plan ( this can be done by either logging in to the provider’s website or contacting customer service ).
- Review your hosting plans and select the one that best suits your needs. You will need to choose between a shared or private server depending on how many websites you want to host on your account at once.
- Install the required software onto your computer (if needed) and activate it within 24 hours of purchasing your hosting plan to get started setting up your website.
Conclusion
After reading this beginner’s guide, you will have a basic understanding of how to set up your website and configure the hosting account. HostGator is a reliable host with user-friendly tools, so you should be able to get started in no time at all.
In addition to setting up your website, you may also want to consider buying a domain name and creating an email campaign to drive traffic to your website. By following these simple tips, you will have everything you need to start promoting your business online!


